VERSALINK EIP configuration
Xerox VersaLink EIP Configuration
This manual was created based on Xerox VersaLink C405DN and should be applicable to most VersaLink MFDs, although slight differences may occur.
Before installation of Dispatcher Paragon Embedded Terminal
Administrator password
Go to Permissions > Login/Logout Settings.
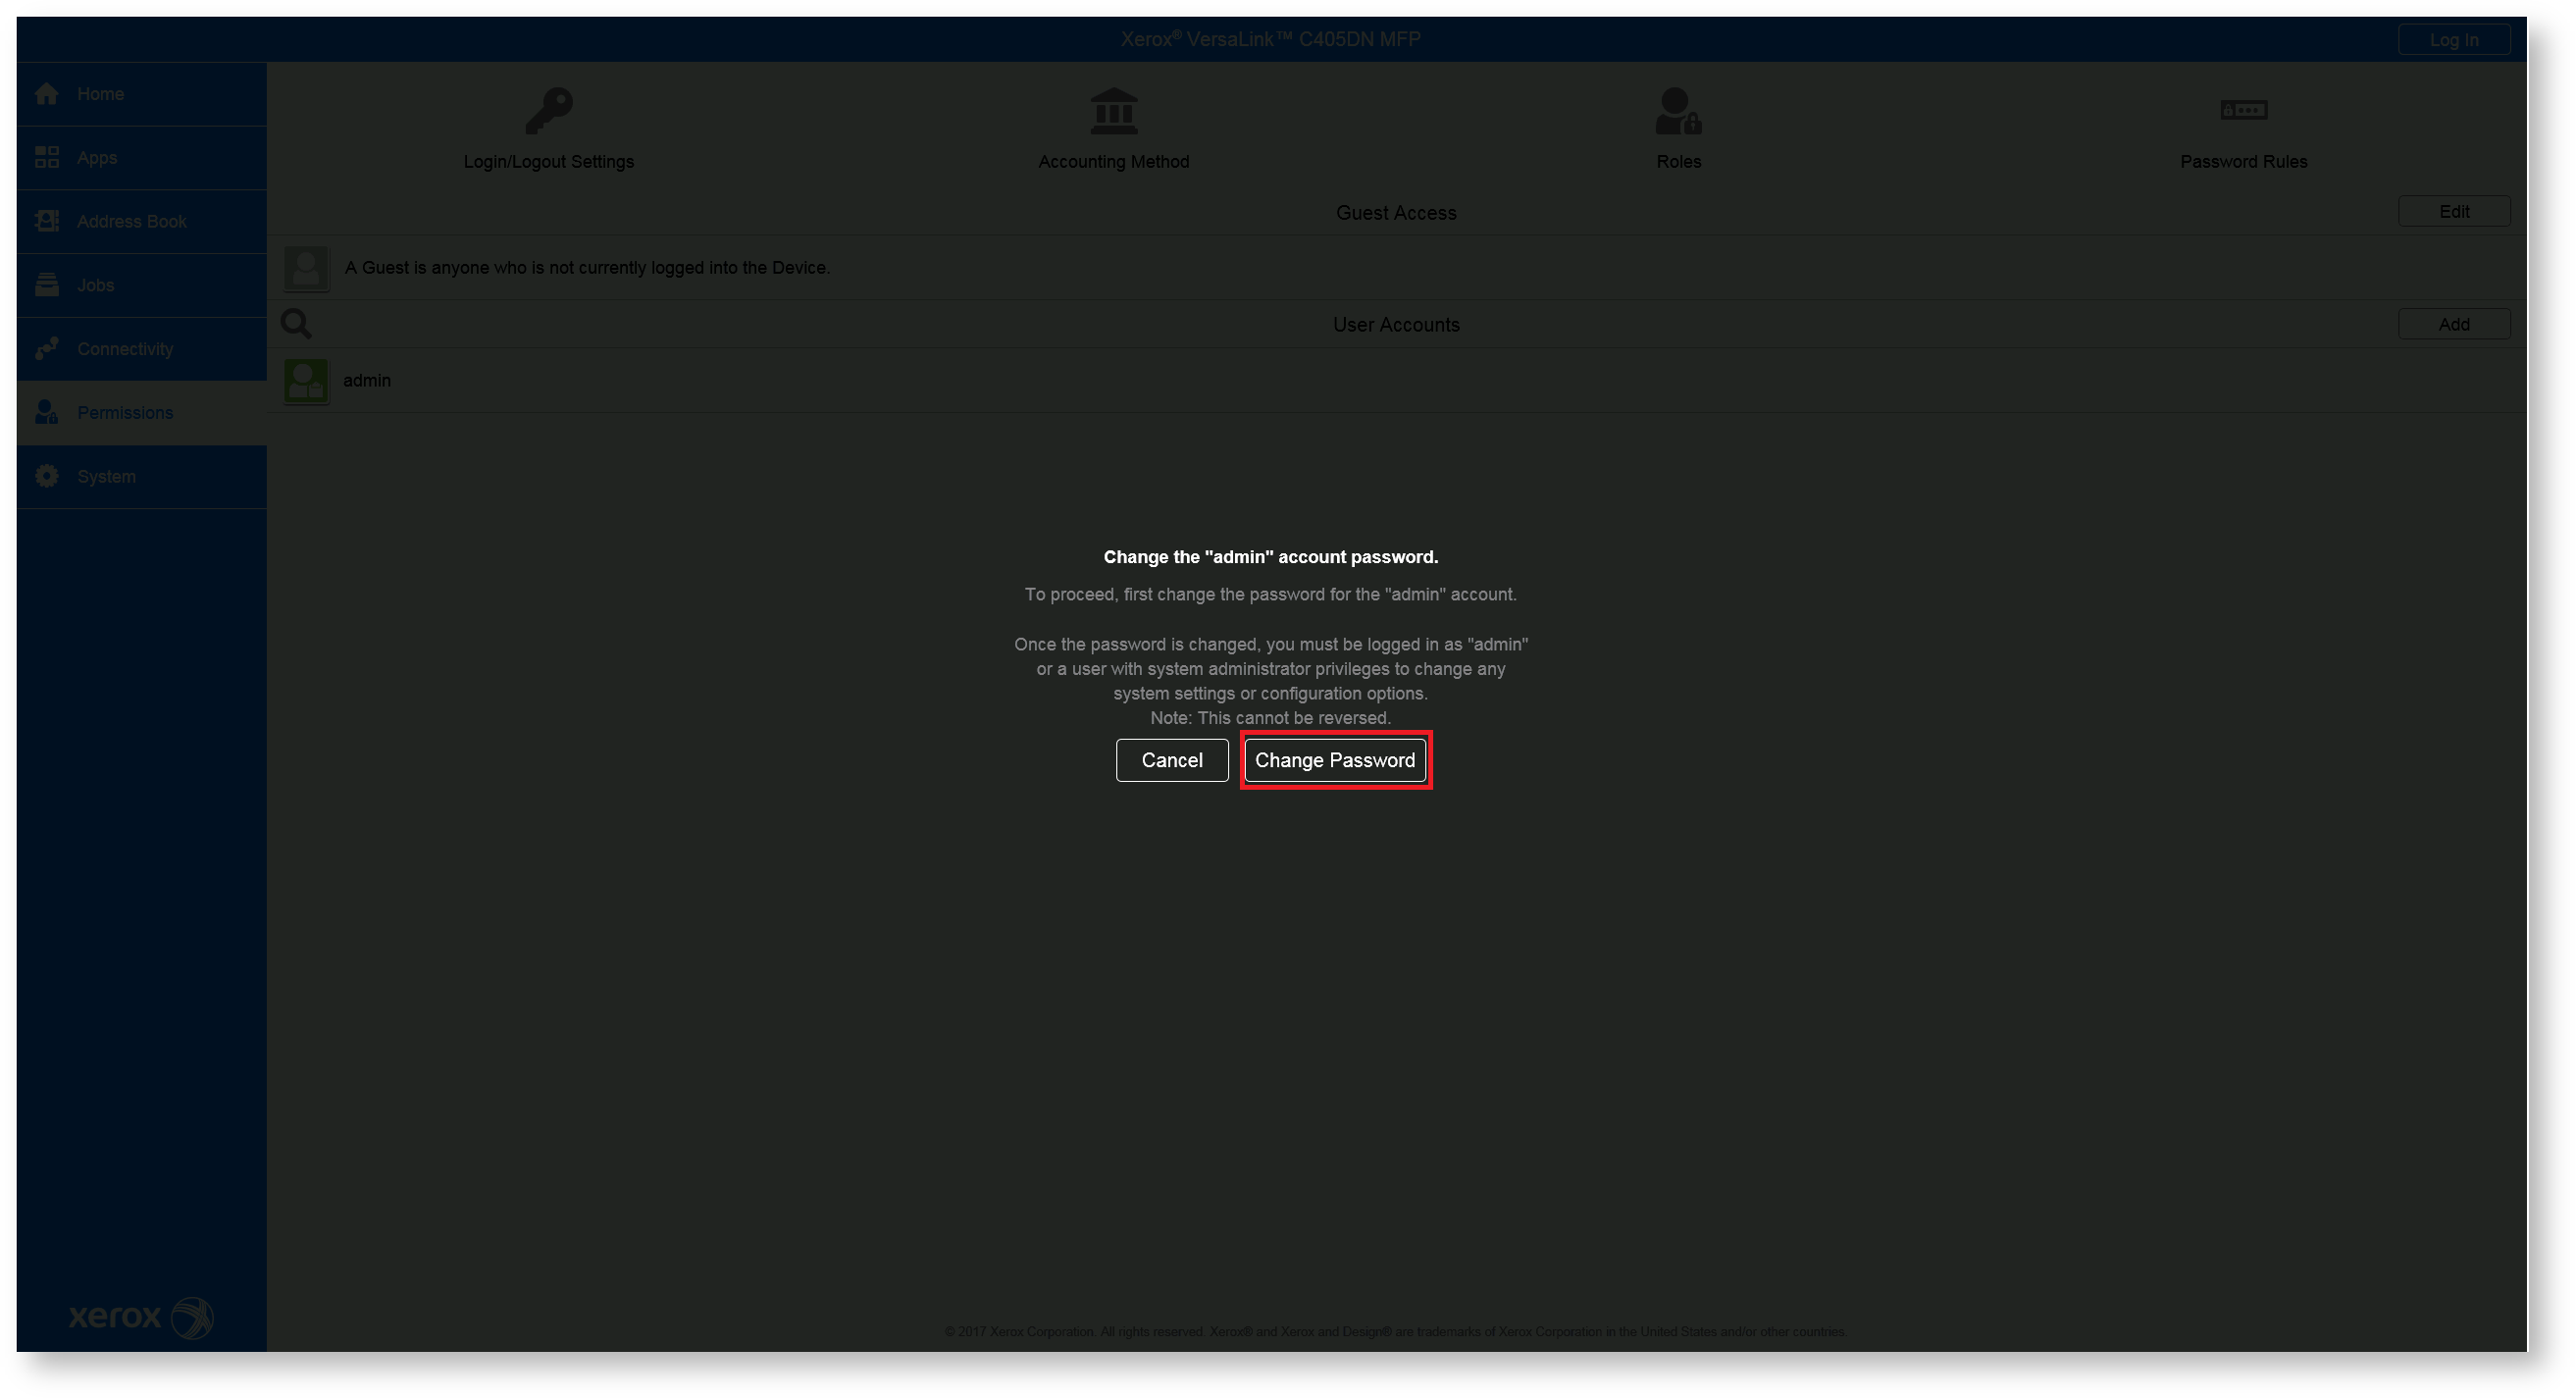
Press Change Password button and insert new administrator password.

Log in as Admin user for next steps.
Disable Automatic print of Startup Page
Automatic print of Startup Page can block device installation. Then some installation steps fails.
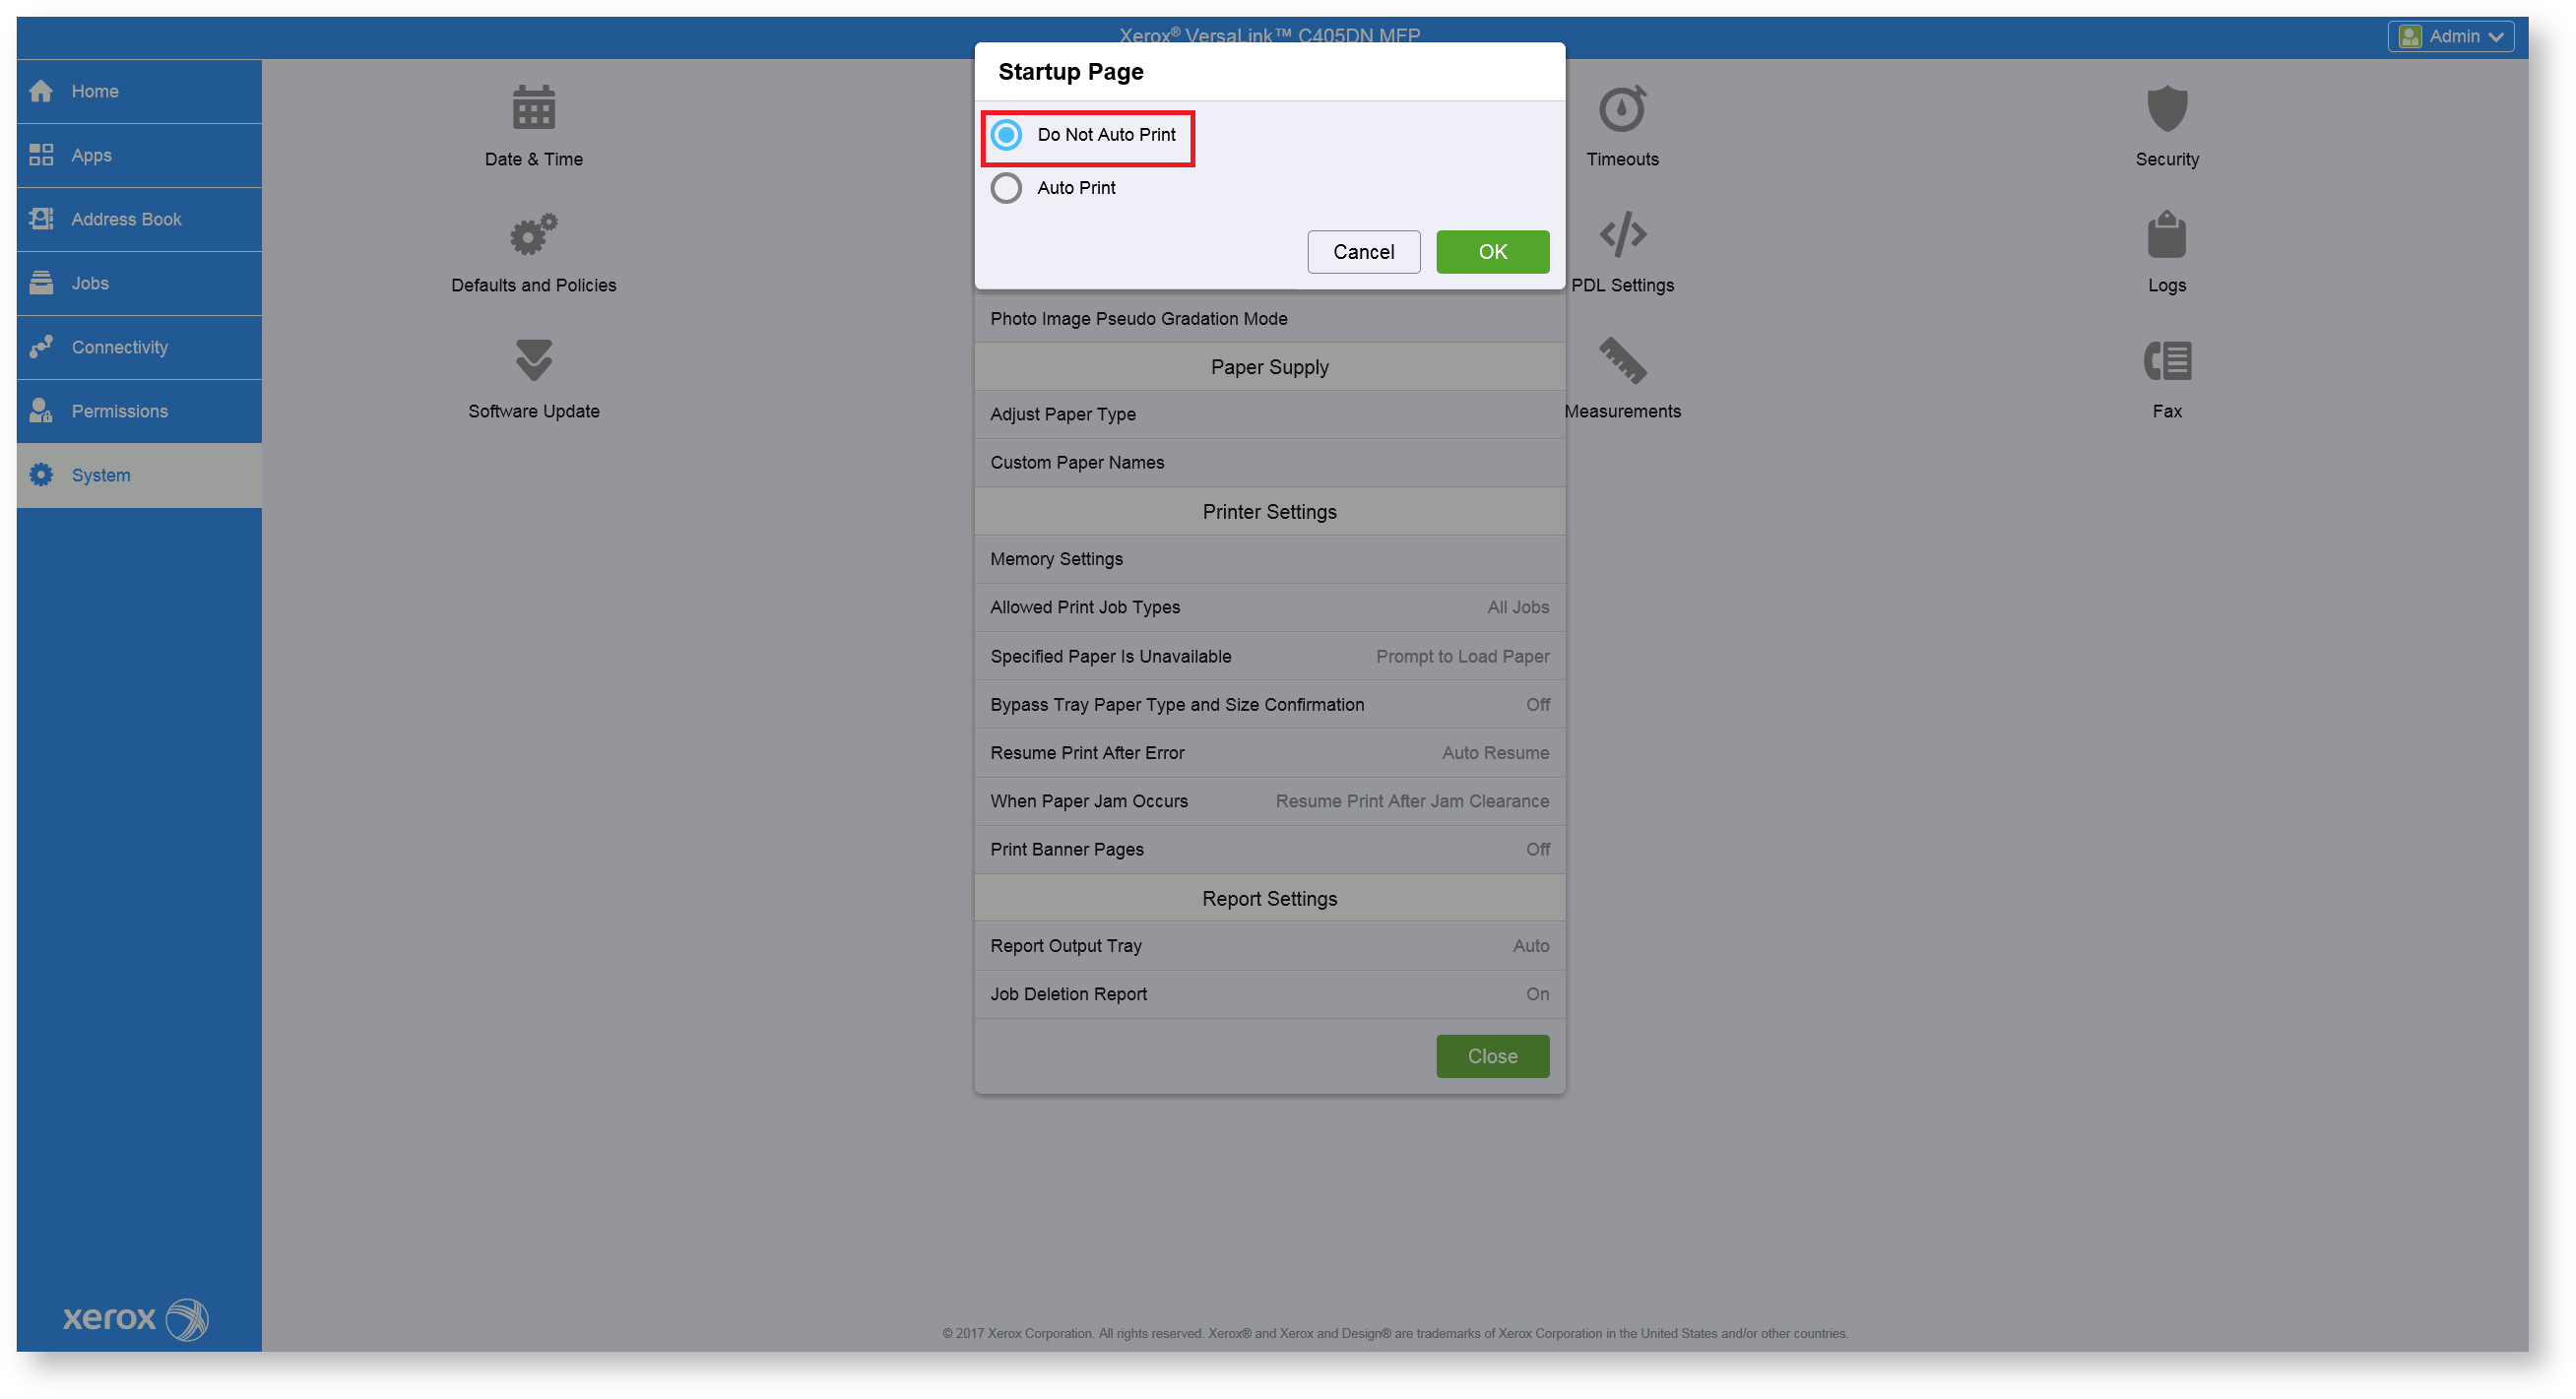
Go to System > Defaults and Policies and click on Startup Page.
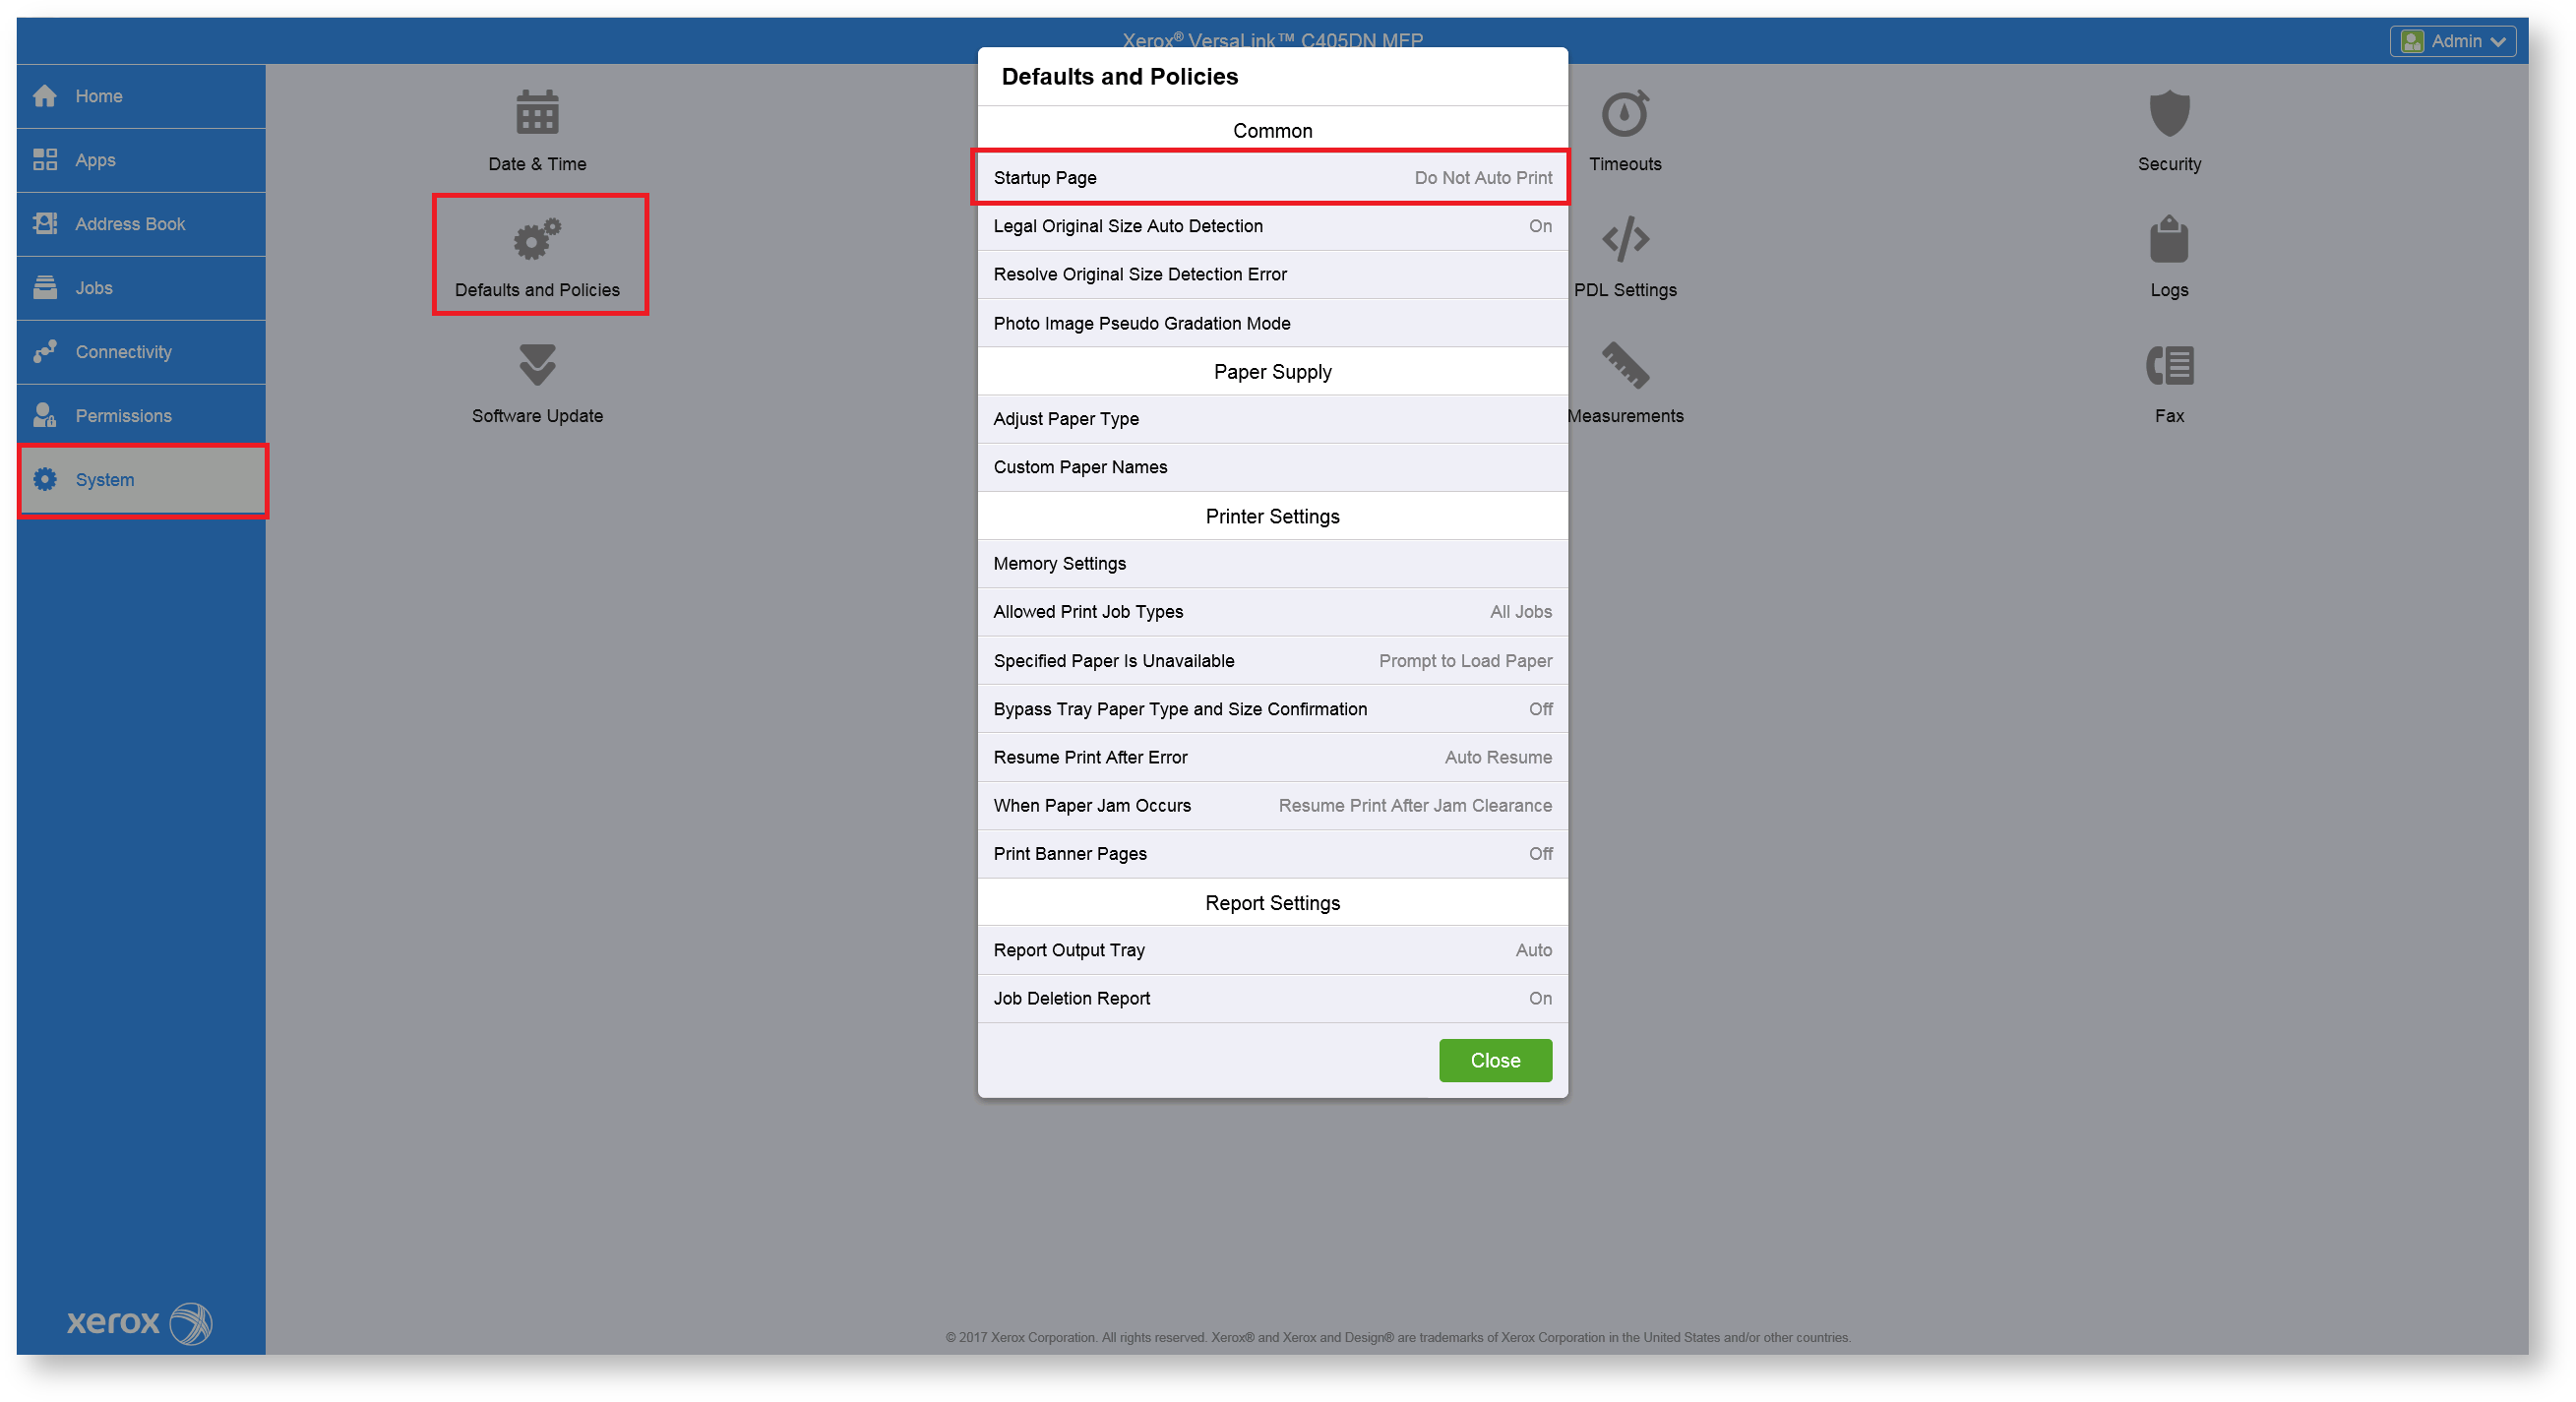
In new window choose Do Not Auto Print.
Enable HTTPS, SOAP and WSD
Go to Connectivity then choose HTTP from list of protocols and enable HTTPS, SOAP and WSD.

HTTP configuration:

SOAP configuration:

WSD configuration: DISABLE Scan & Print

SNMPv3
Go to Connectivity then choose SNMP from list of protocols. New window will appear and then click on SNMPv3.

Enable SNMPv3. Then enable System Administrator Account and fill Authentication Password and Encryption password used in your organization.

Same Authentication Password and Encryption password have to be used in device configuration in Dispatcher Paragon.
EIP Settings
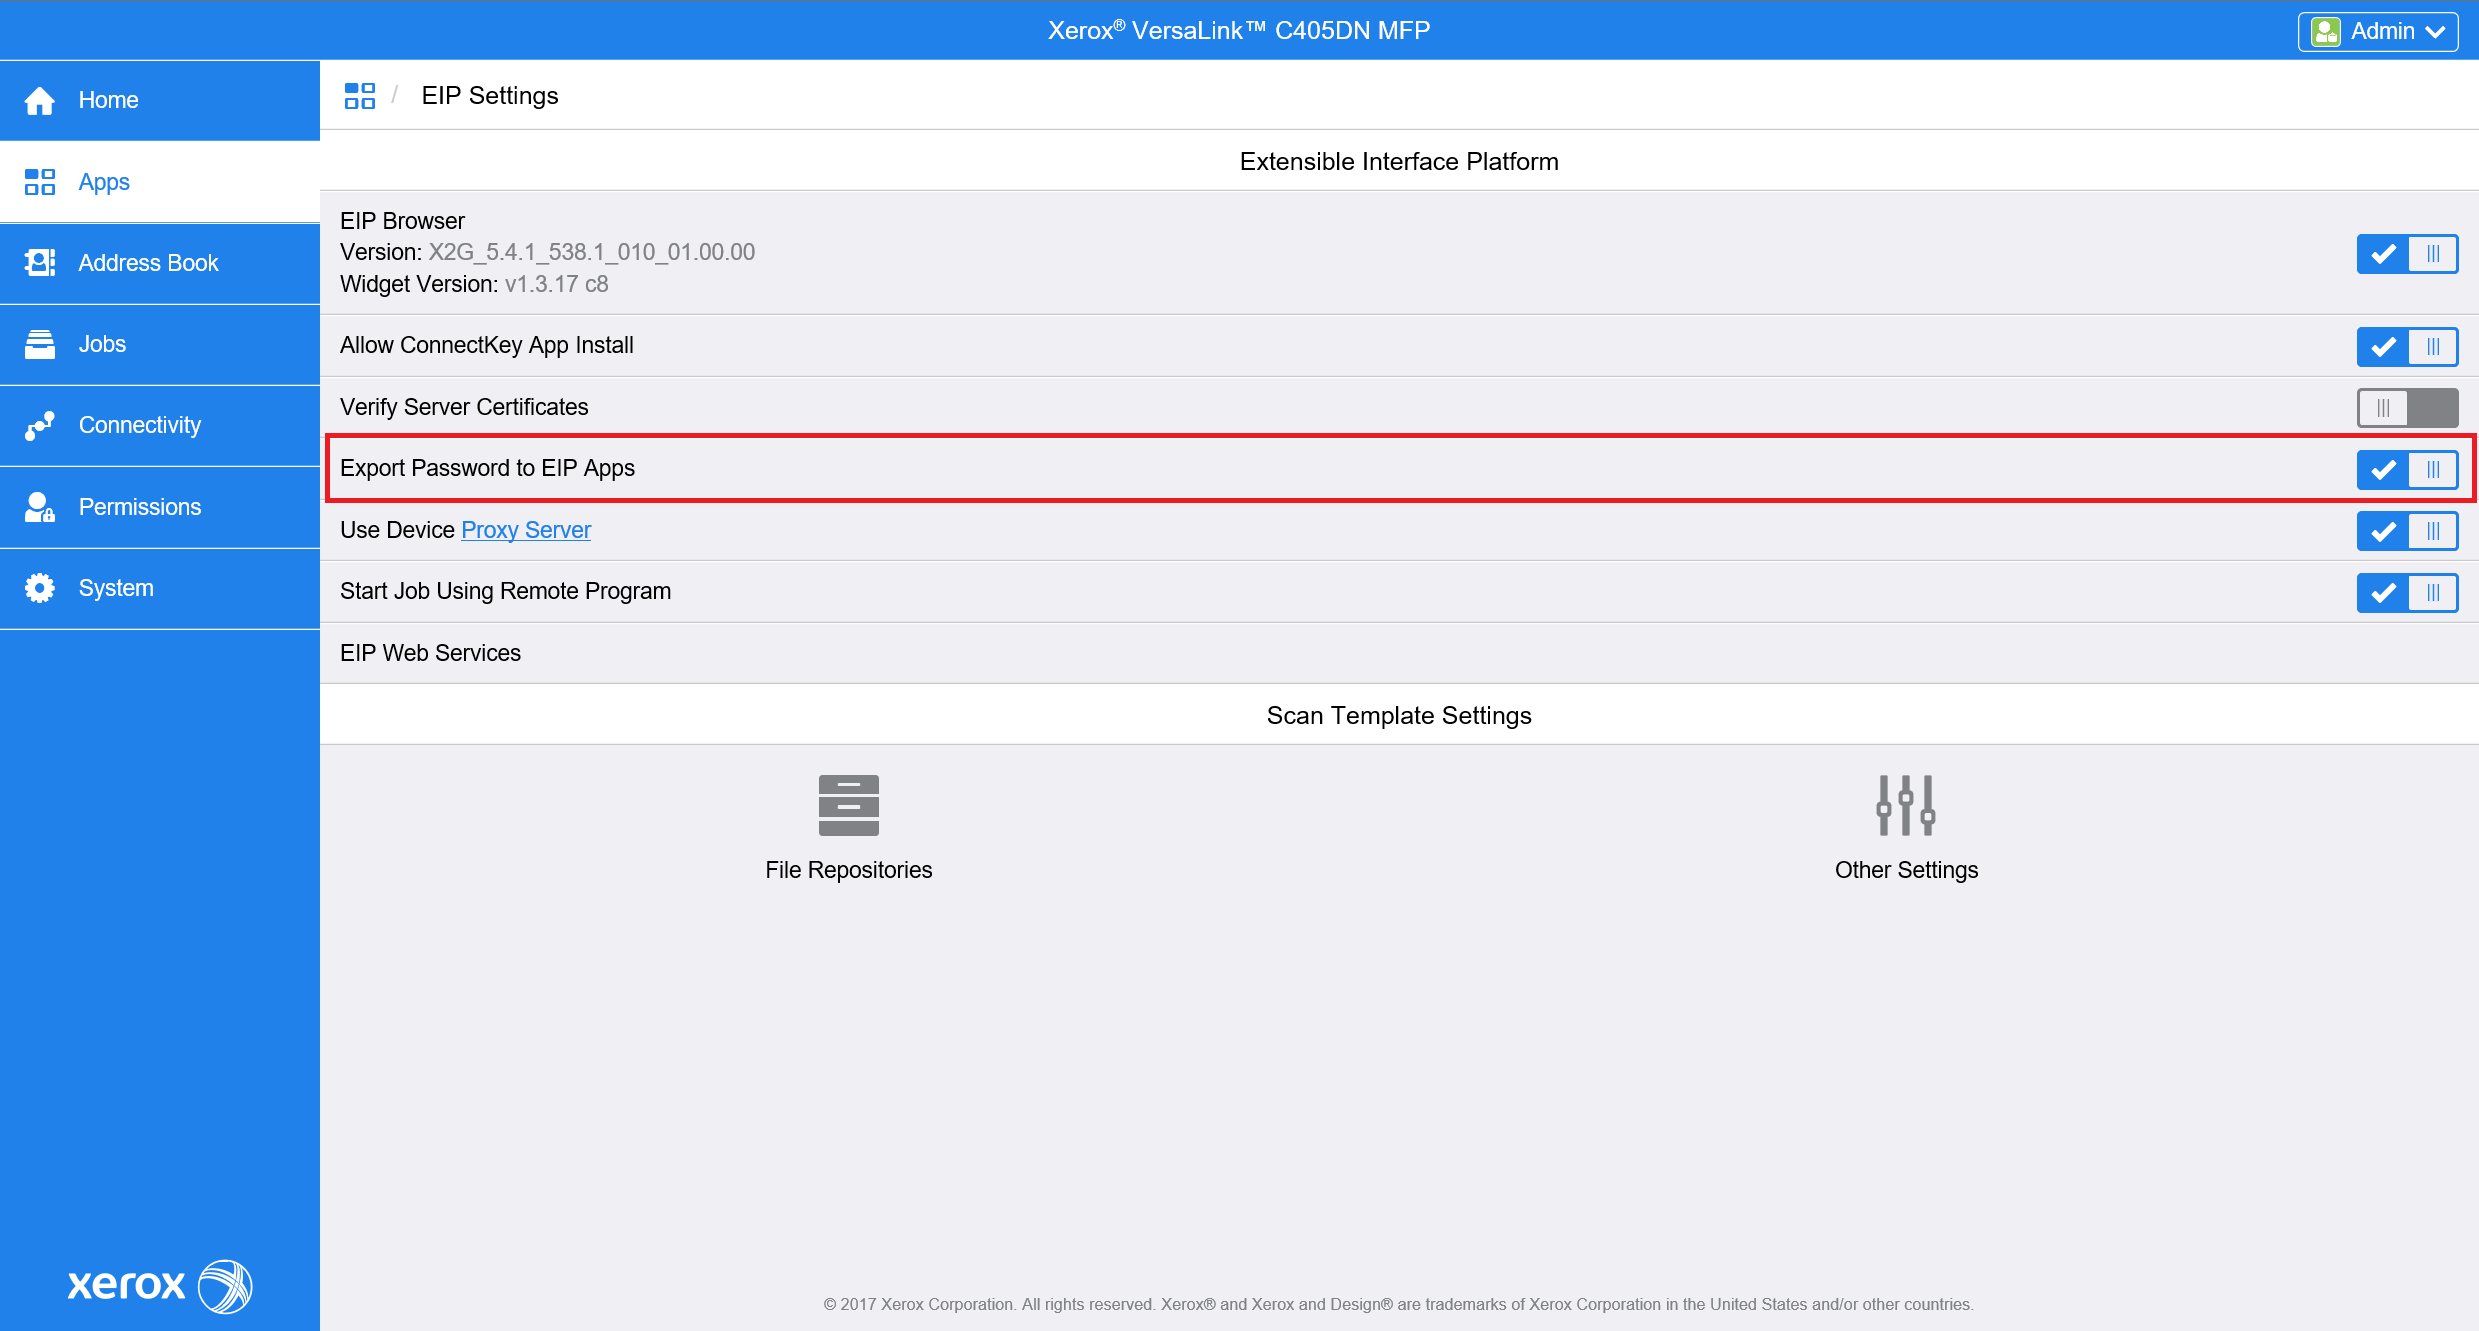
Go to the Apps > EIP Settings and enable Export password to EIP Apps.
USB Card Reader
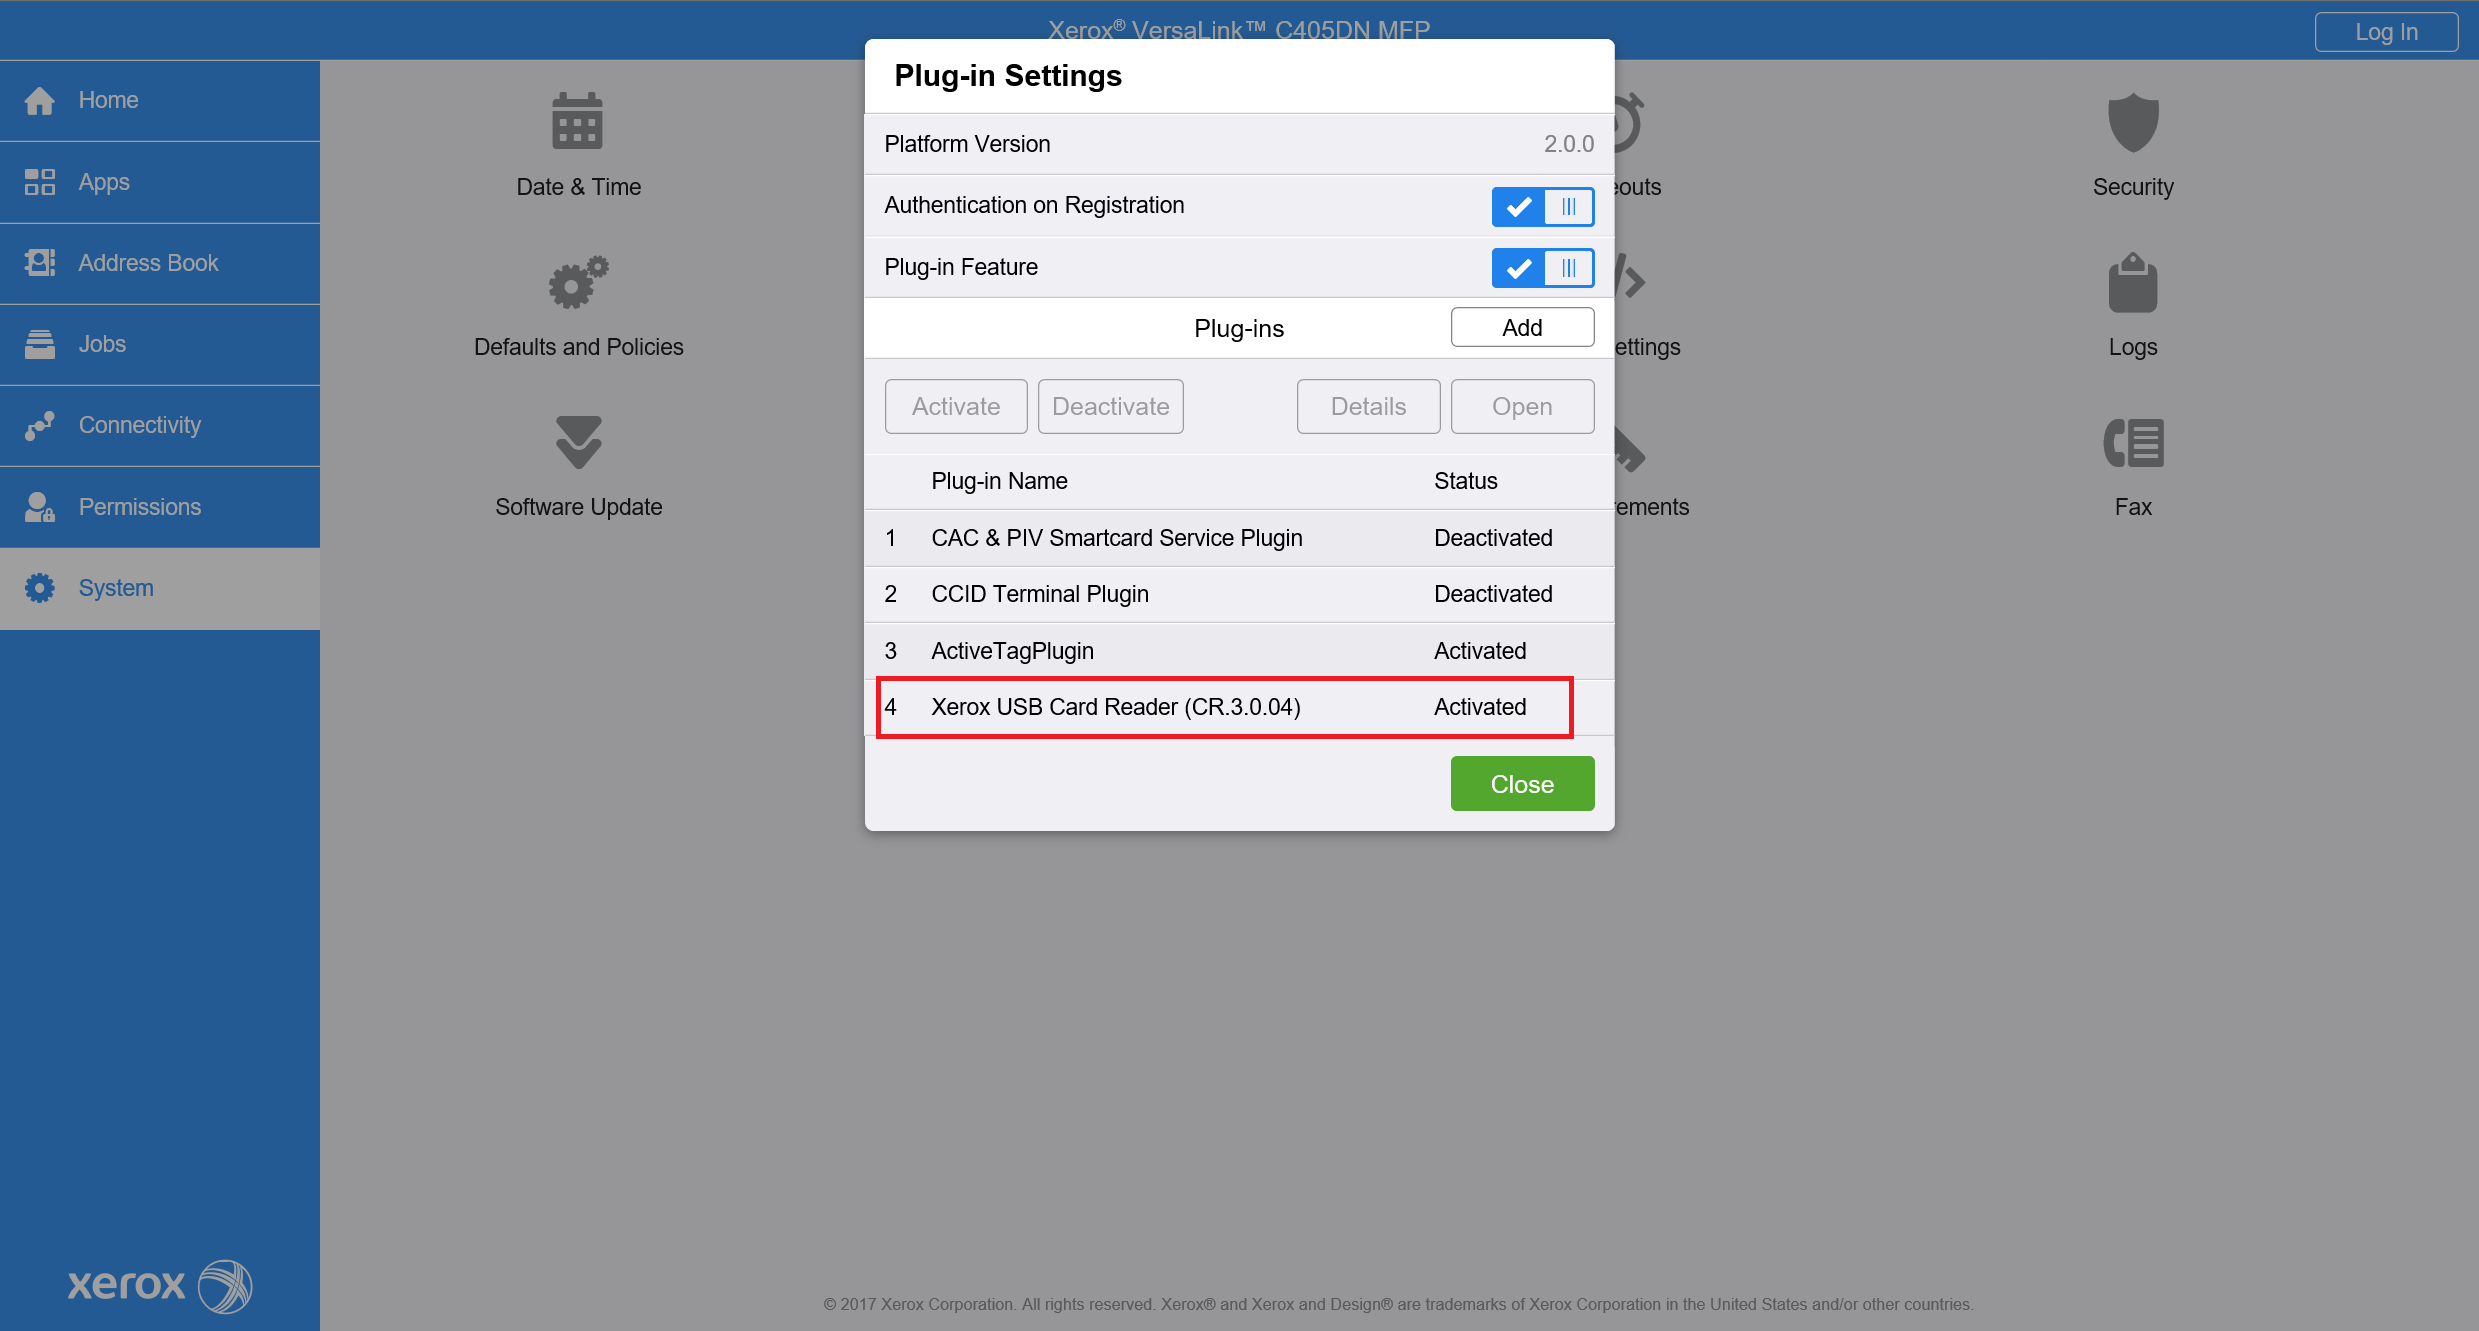
You will need to enable Plug-in feature in System > Plug-in Settings. Also enable Authentication on Registration. Restart device will be necessary - press Restart Now.
Please note that you can obtain the plug-in from Xerox, Konica Minolta Group has no rights for its distribution.

After restart open same window (System > Plug-in Settings) and press Add button.

Choose path to file with the plug-in and upload it to the printer : VL Generic_CardReader.jar

After plugin installation restart device is needed.

Successful plugin installation and activation can be verified in System > Plug-in Settings in Status column.
The option is available in Apps > EIP Settings > EIP Web Services > Job Management Extension
Disable XEIP Proxy Configuration


VersaLink does not have a “Allow open access to Job Information” setting. This is enabled by default for localhost calls.
It is important to have the latest software installed in the printer, to avoid any potential problems.
Embedded terminal with PIN only authentication configuration
In case the embedded terminal will use only PIN authentication method the following configuration is required:

Lock Guest Access
Go to Permissions and in Guest Access click on Edit > Device User Role.

In new window choose No Access option.
